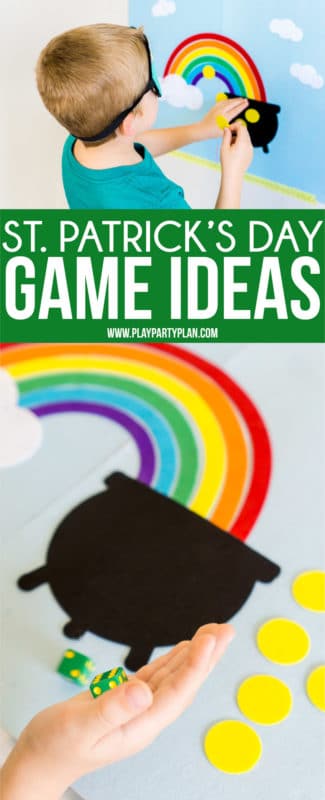
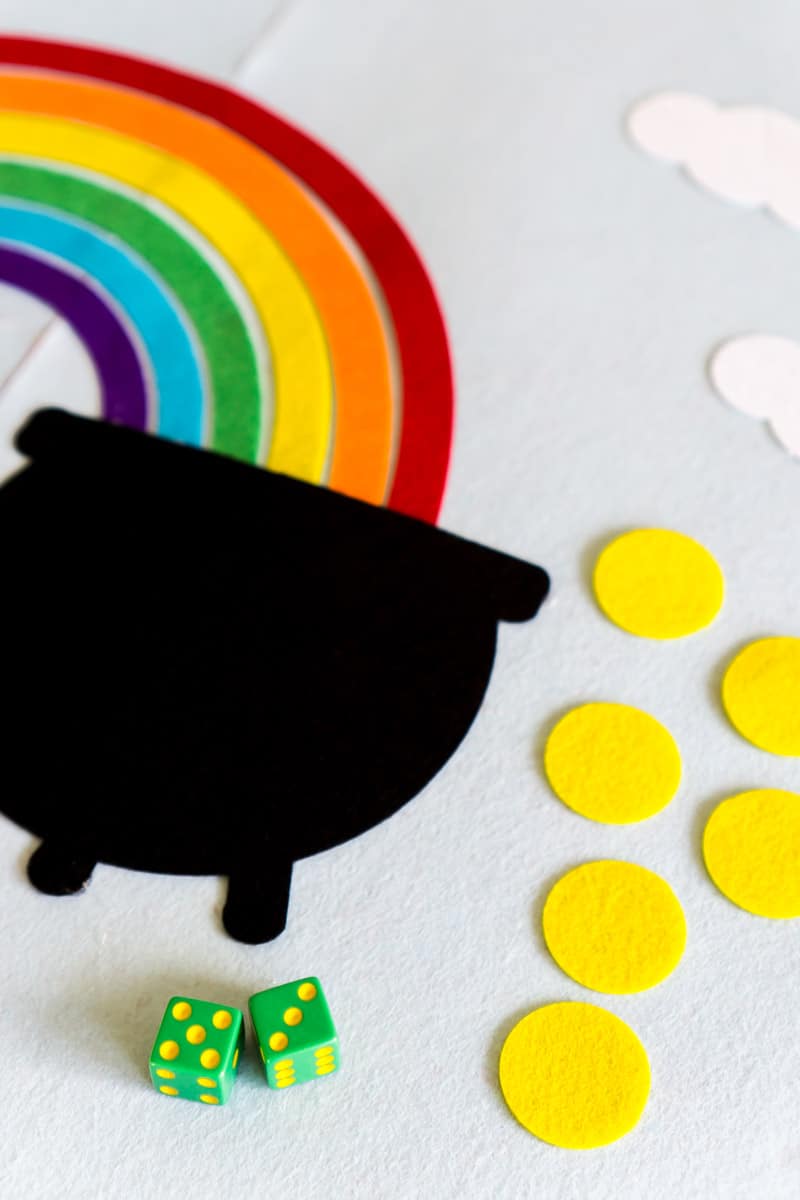
These DIY St. Patrick’s Day pot of gold games are perfect for kids and adults like! Simple to make, durable so you can keep them year after year, and fun to play! They’re perfect for a St. Patrick’s Day party (try them with these St. Patrick’s Day games) or just an afternoon of magical fun at home! This post contains affiliate links to products I recommend. I may receive a small commission if you purchase anything via my links. Most of the time I create printable games, like this leprechaun hunt, that you print out then throw away when you’re all done. I thought this year it would be fun to make some St. Patrick’s Day games that I can actually keep and reuse year after year, kid after kid. These two pot of gold games are super easy to make and based on my 5-year-old’s feedback, they’re super fun for kids to play too! Play them then serve these pot of gold cupcakes for one magical afternoon! Best of all – you can just fold it up, tuck the gold coins into the pot, and bring them back out again next year. But I’m getting ahead of myself. Let’s start with how to make these easy pot of gold games!
Pot of Gold St. Patrick’s Day Games
These are two different games that both use the same exact pot of gold base. I’ll get into more details on each of the games – how to play, prizes, etc. later but here’s a quick overview. The first game is a play on pin the tail on the donkey but instead of pinning the tail, you’re trying to get the gold coin closest to the leprechaun’s pot as possible. This definitely works for any ages and would be the perfect classroom St. Patrick’s Day party game (if you have those – we only have Christmas and Valentine’s Day). The second game is a counting game where kids have to roll the dice and fill up their leprechaun’s pot with gold based on what they roll. This game is going to better for younger kids where counting things out is still a thing. But I did include some instructions for how to make it a bit more advanced and still fun for older kids and even adults too!
Pot of Gold Game Supplies
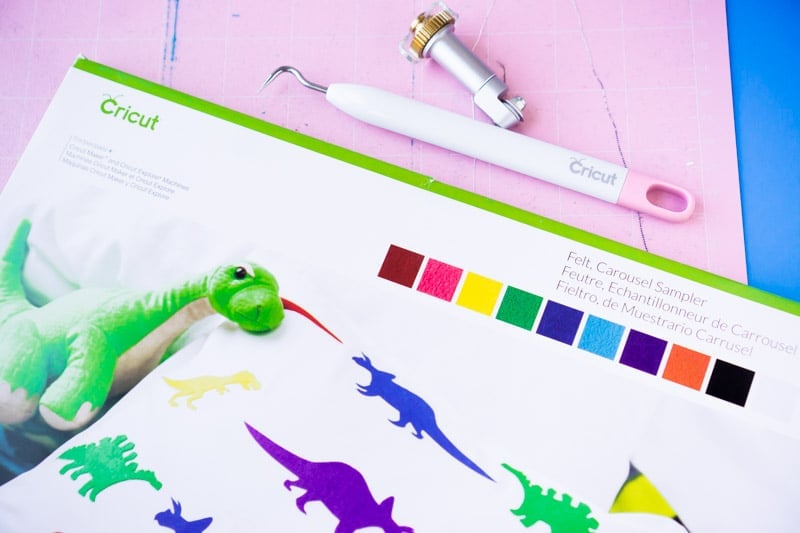
I mentioned above that both games include the same rainbow pot of gold base so this list of supplies includes everything you need not only for the base itself but also for the games. One huge caveat – the base is made out of felt. I’ve heard of people having issues trying to cut the softer felt so make sure that you’re using the Cricut felt mentioned in the list below. Or if for some reason you can’t get that last minute or need a larger size, at least go with the stiff felt. It makes a huge difference when cutting with the Cricut Maker. Okay, now onto the supplies you’ll need for this project!
Cricut Maker Cricut Rotary Blade Cricut Fabric Mat Cricut Felt Sampler, Carousel (you’ll use this for everything other than the blue sky)Stiff felt in light blue – you can either purchase four of the Cricut Felt Sampler, Sky packages or just pick up two longer pieces of stiff light blue felt at your local craft storePiece of regular size poster board (you could also use cardboard but this tutorial is written for poster board)ScissorsHot glue gunThis pot of gold game Cricut Design Space fileCricut Weeder Tool (optional – if you need it)Blindfold (for the put the gold game)Tape (or another way to adhere the game to the wall)Dice (for the dice game)
How to Make these DIY St. Patrick’s Day Games
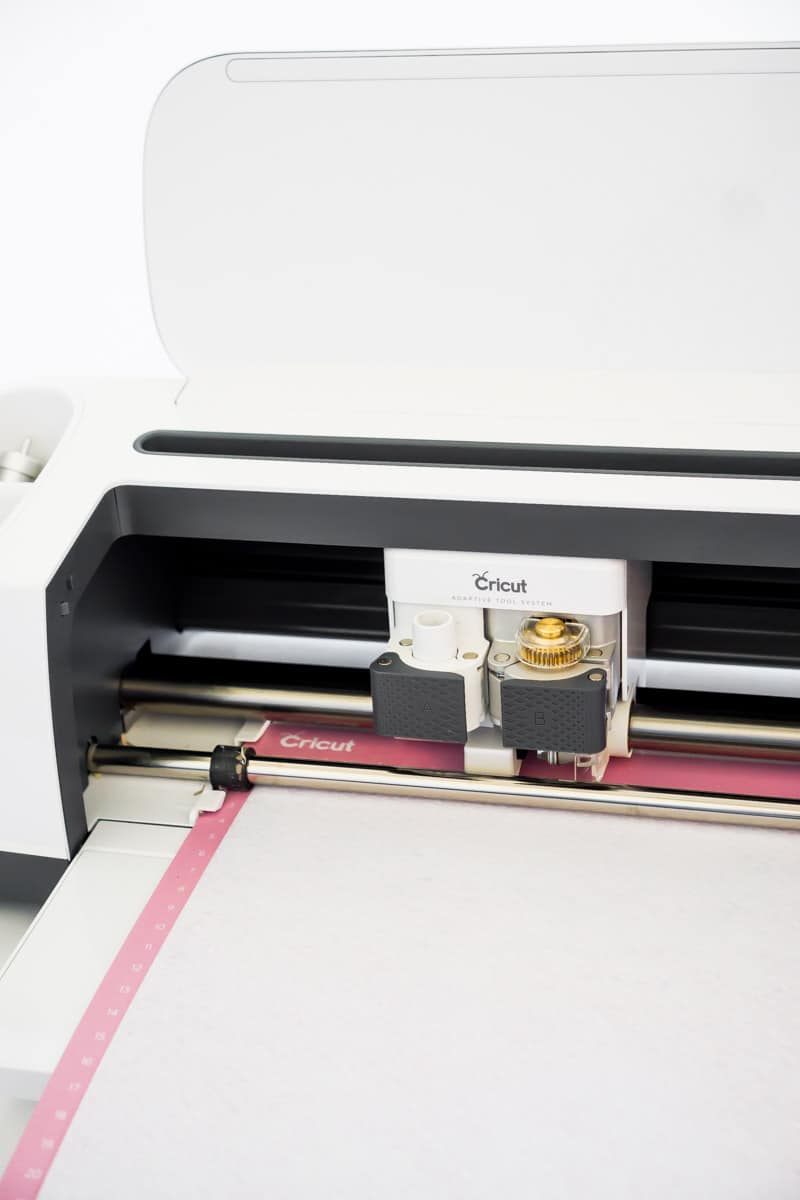
I made the base of these pot of gold games out of felt specifically so I could reuse them again and again. Also, using felt allows you to do the whole “pin a tail” using the gold coins without actually adhering anything to the back of the coins – again so you can reuse them over and over again. Felt sticks to felt and all that. Another reason I went with felt? The Cricut Maker cuts felt like butter, which means I had this project cut out, glued on, and ready to play in maybe 20 minutes tops. And that included waiting for my hot glue gun to heat up twice because I forgot to glue on the clouds the first time. The Maker combined with its incredible rotary blade is made specifically to twist, turn, and trim in every angle and way you could imagine. Unlike traditional blades, the rotary blade rotates and twists to get you the perfect lines no matter what design you’re cutting out. You can learn more about the Cricut rotary blade and all of the things it can cut here! This design file is a pretty simple cut, but it’s still amazing to watch the rotary blade go around and cut each of those individual coins without any jagged edges or issues. Okay, now onto the instructions.
Create Your Blue Sky
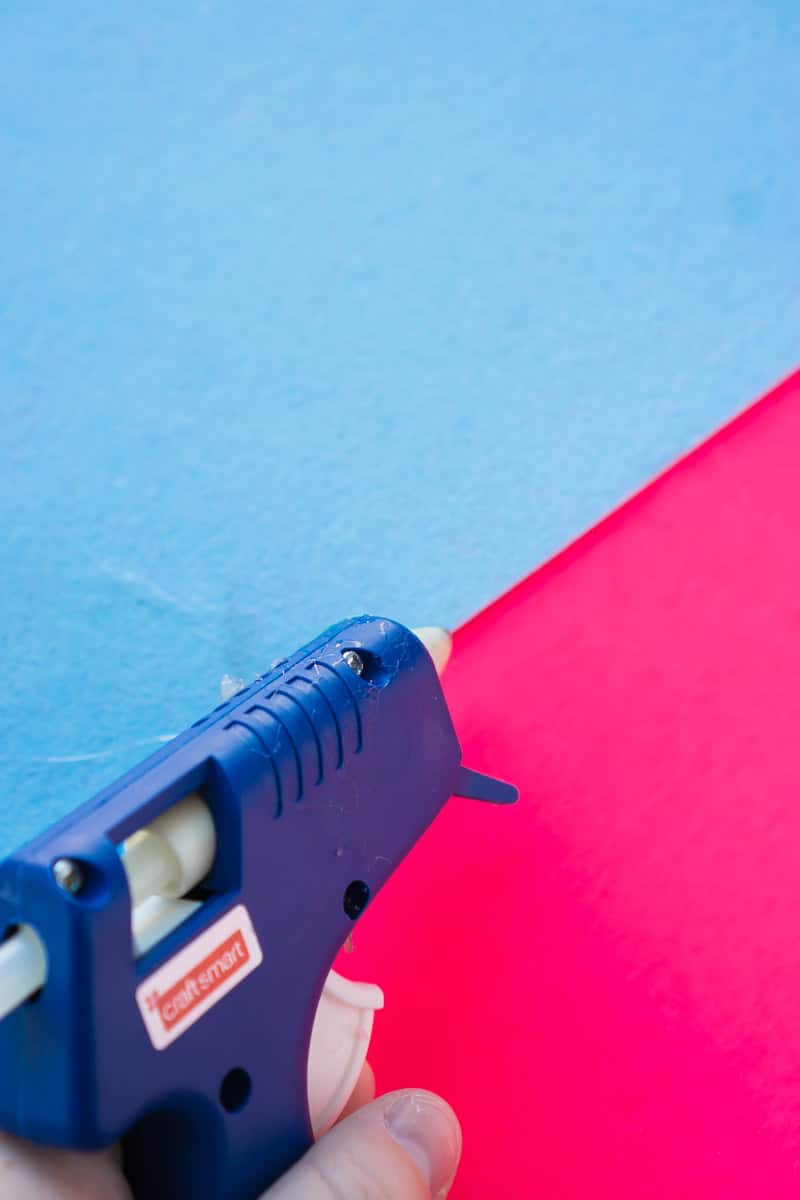
First, you need to cover your poster board with the light blue felt you chose. I simply hot glued my pieces to the poster board then cut off any overhanging felt and the rest of the poster board. Make sure that you are pressing the felt down firmly onto the board as you glue or you’ll end up with bubbles. And be careful – hot glue is hot! And it is also pretty tough to remove the felt from the poster board once it’s firmly glued down – it tends to snag all of the fibers in the felt and ruin it.
Cut out the Rainbow Design
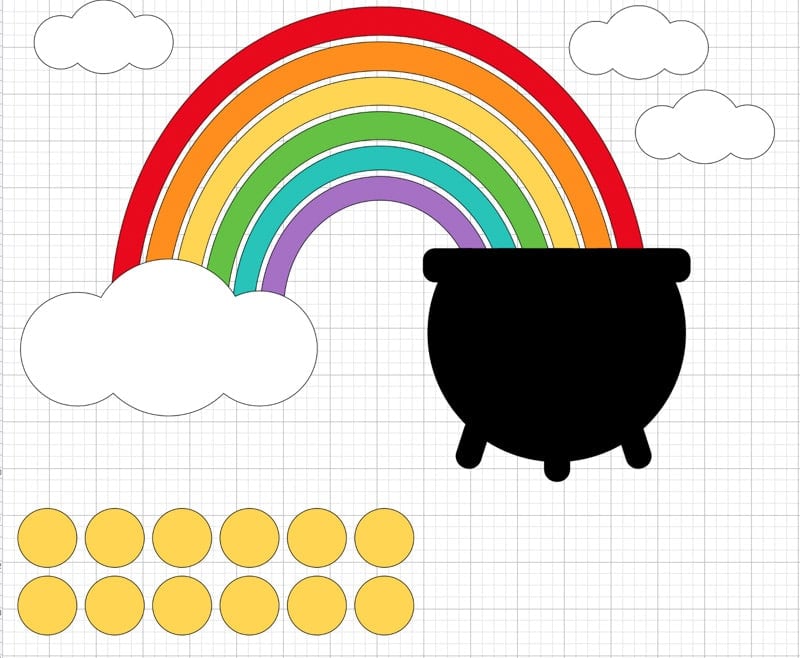
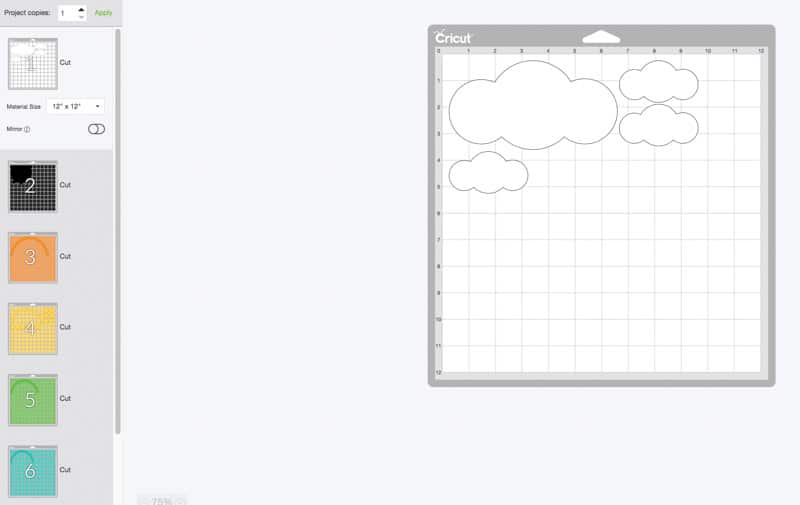
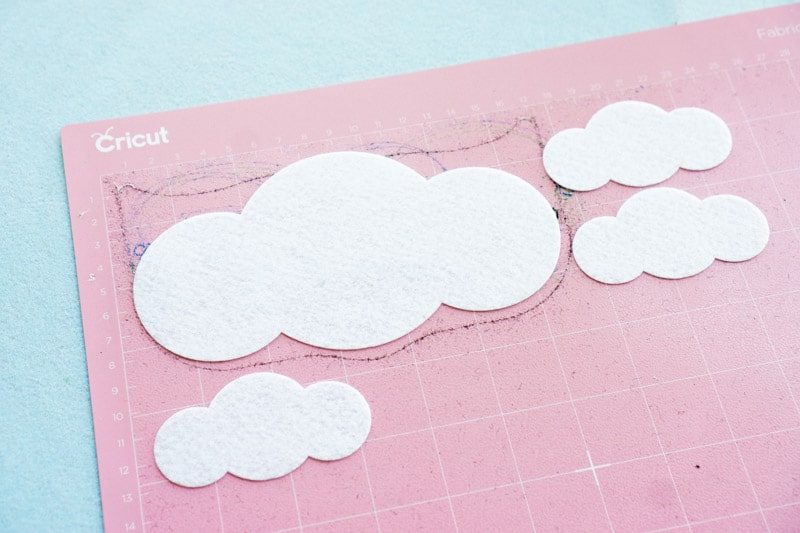
Next, it’s time to cut out the rainbow design. The Cricut Maker and the file I designed using Cricut Artwork makes this part a cinch! 1 – Open Design Space and download this file into your workspace. The file does include a couple of images from the Cricut Artwork library so if you don’t already have Cricut Access, now’s the perfect time to sign up! There are tons of great pre-made image options that you can just use straight up or customize to your liking like I did with this one. Or you can just purchase the images I used individually for a nominal fee when you’re going to make the project. The file I created is designed to fit, centered, on the width of a standard size poster board. The file comes with the rainbow, clouds, pot, and 12 gold coins all ready to cut. 2 – Click “Make It,” and the design will open into the cut screen showing you the different colors that individual items will be cut on. If you resized the file at all, make sure that each of the pieces of the design still fit on a standard 12×12 Cricut felt sheet. 3 – Choose “Felt” as your material, which will default to cutting with a fine-point blade. Select the option to choose another blade and go with the rotary blade. You can thank me later on this one – so much better than cutting with the the fine-point blade! 4 – Load your first piece of felt onto a pink Cricut Fabric mat and into the Cricut Maker then follow the prompts on the screen to let the Maker do its magic. 5 – Repeat until you’ve cut out all of the pieces of the design on their corresponding colored felt sheets.
Glue the Design to the Blue Sky
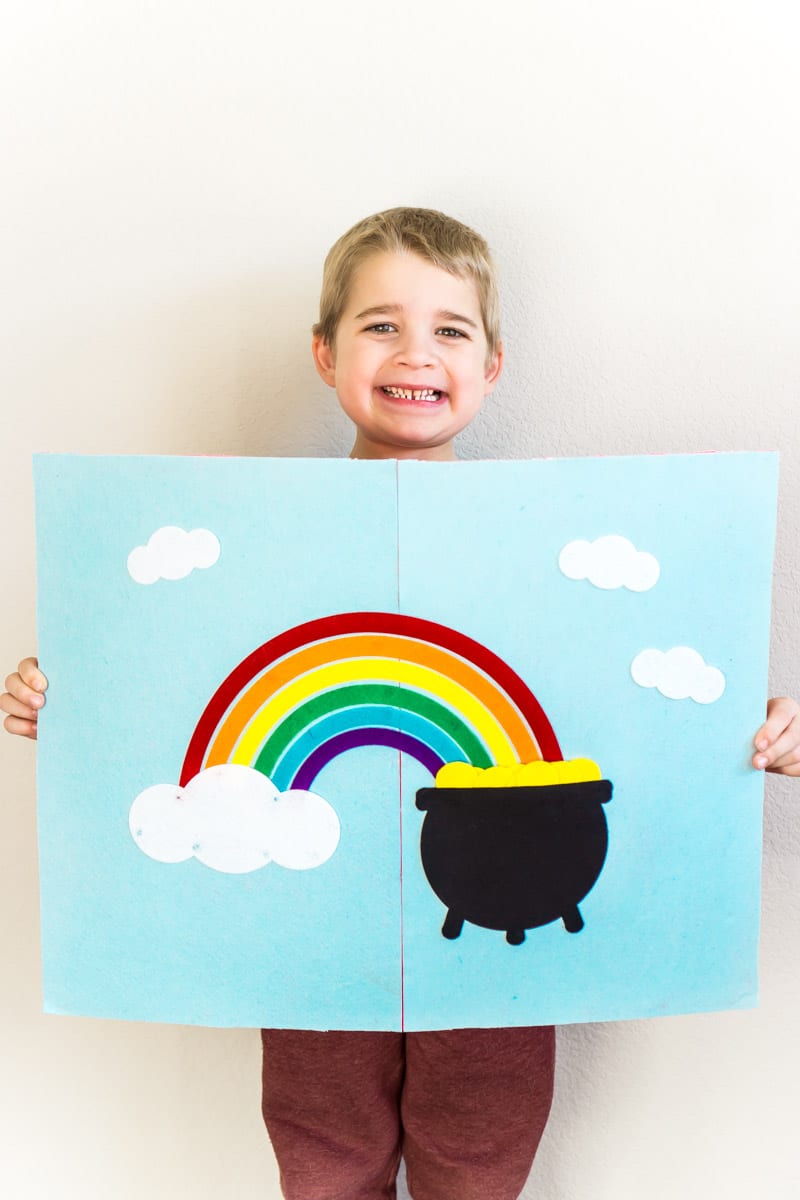
Last but not least, it’s time to put the two together. When you’re gluing, I recommend just putting little dots of hot glue in a few places around the edges – you don’t need to glue down every tiny piece. 1 – Place your cut out pieces on the blue sky so that you can see how they’re spaced and where exactly you want them. 2 – One by one glue down the pieces of the rainbow, starting with the biggest red piece first, and adding in the other colors in order. 3 – Once the rainbow is glued down, glue down the large cloud on one end of the rainbow and the smaller clouds in the sky. 4 – Last but definitely not least, it’s time to glue on your pot. When you’re gluing on your pot, make sure to leave the top of the pot open and accessible, so really only glue around the edges and bottom. Leaving the top open allows you to play the second dice game AND gives you an easy place to store those gold coins when it isn’t St. Patrick’s Day season.
How to Play These DIY St. Patrick’s Day Games
Both games are super simple, which is what makes them good for kids. I’ve also included a little blurb with each game below on how to make it more tricky for older kids and adults. You choose which way to play based on your audience.
Place the Gold in the Pot Game
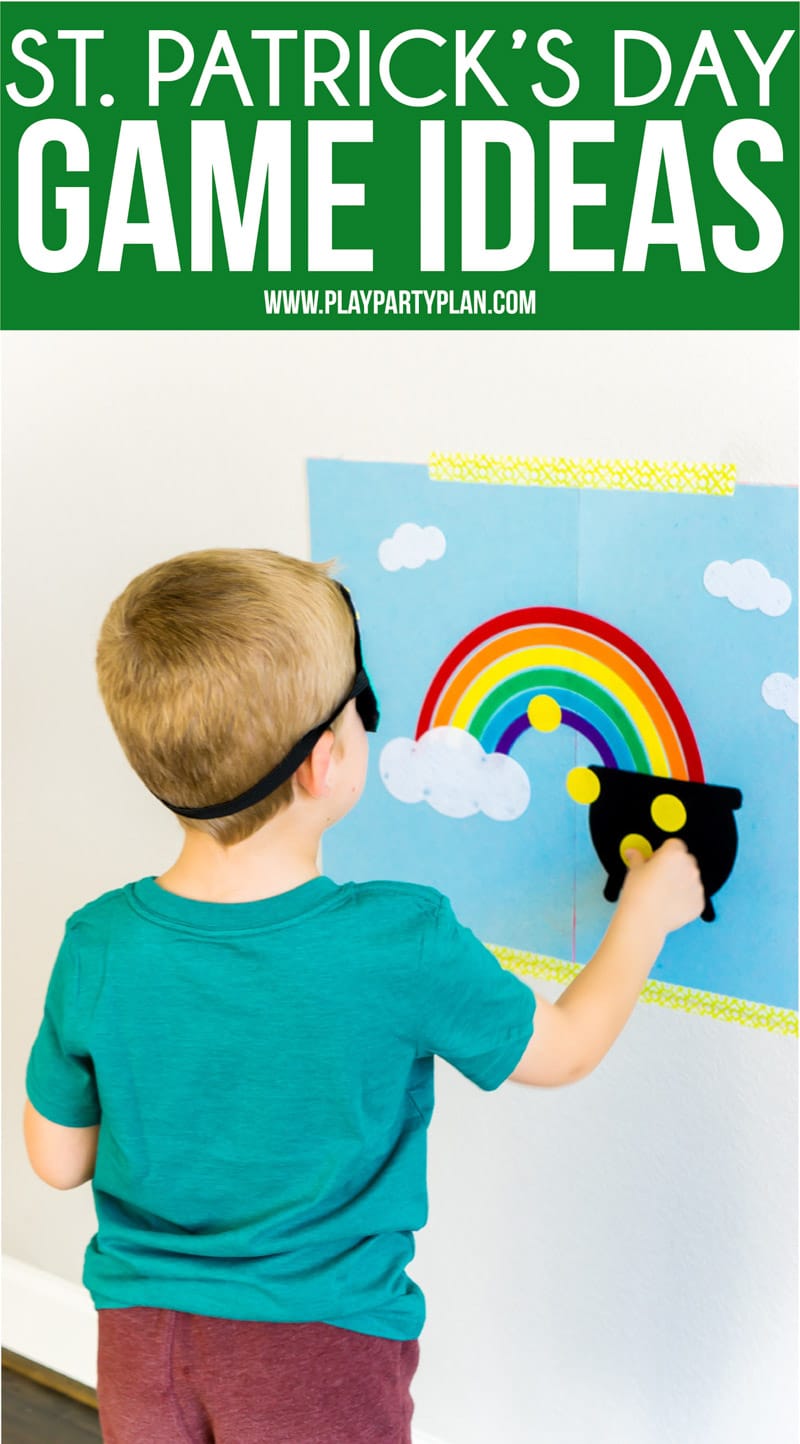
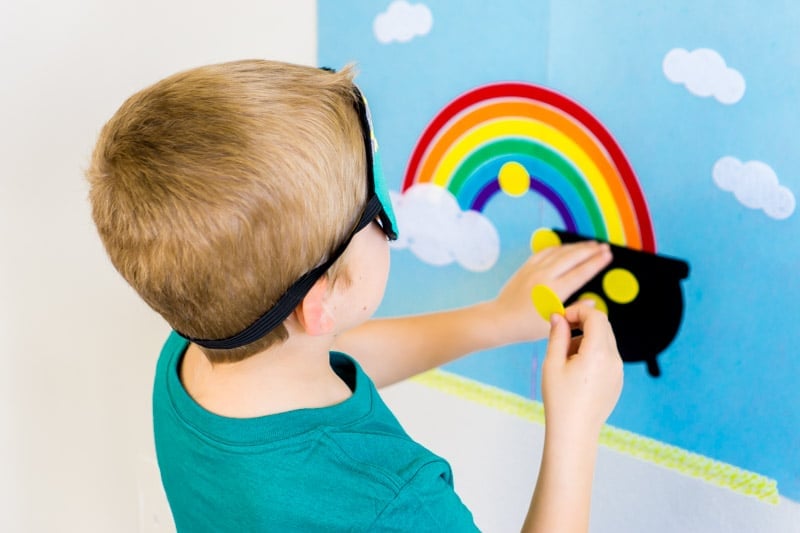
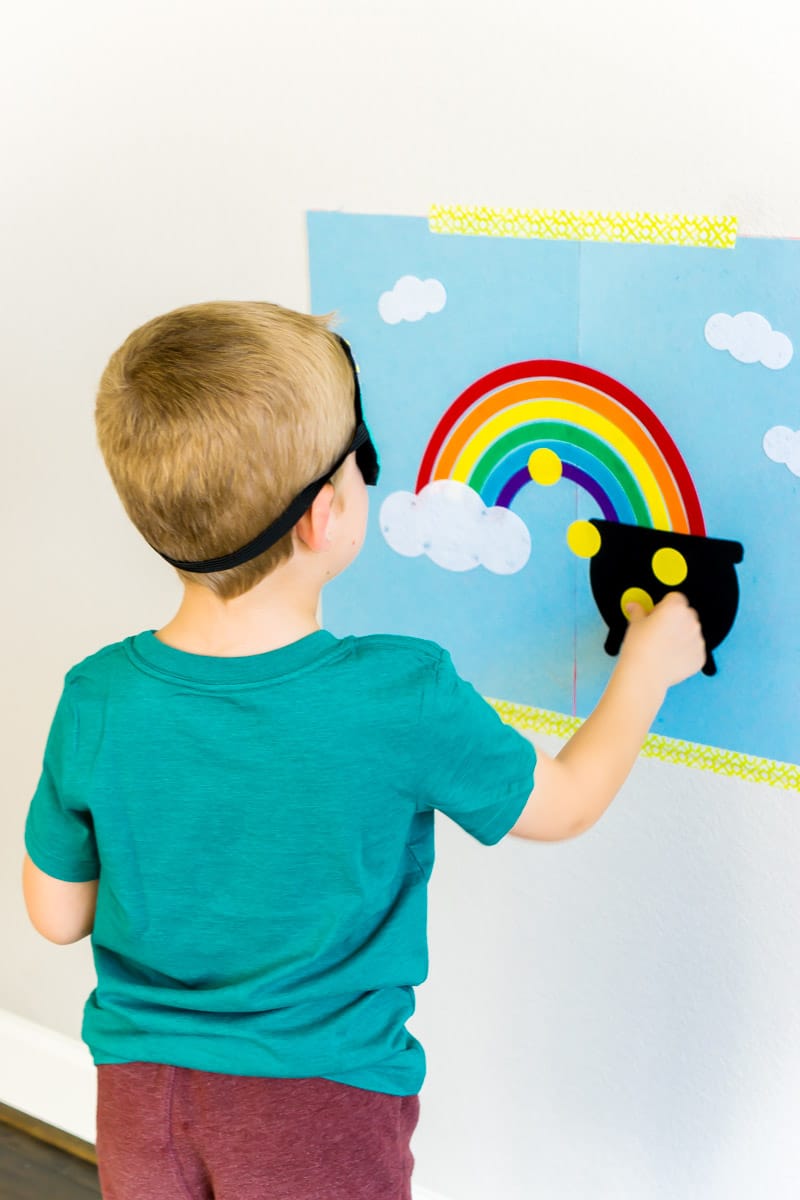
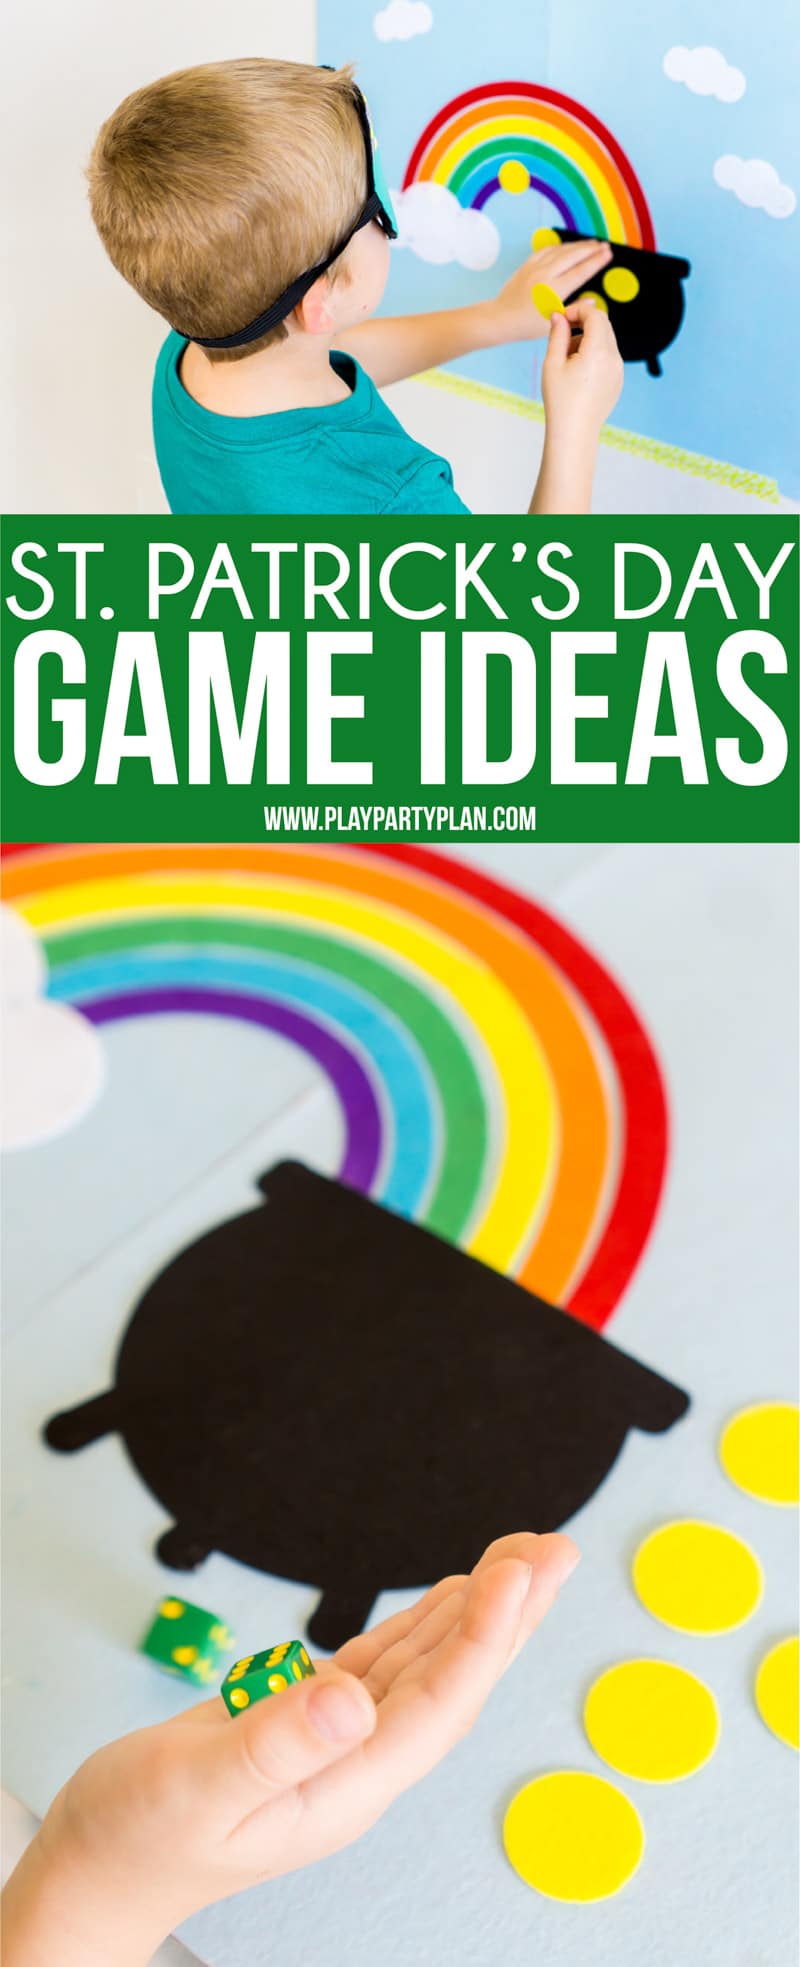
This game is basically a variation on pin the tail on the donkey where instead of pinning the tail on the donkey, you’re trying to get your piece of gold the closest to the top of the pot as possible. Tape the game board up on the wall about the height of an outstretched arm of whoever will be playing. If you’re playing with kids of varying heights, make it based on the height of the shortest kid – it’s possible for taller kids to reach down but much more difficult for shorter kids to reach something higher than their arm height. Blindfold your first player and give them one of the gold coins. Stand them about ten feet away from the game board on the wall then have them walk toward the board and place the felt coin wherever they think is the pot of gold. Whoever gets their coin on the top of the pot of gold (near the opening) wins. Or everyone wins just for playing! I’ve got some fun St. Patrick’s Day game prize ideas in this St. Patrick’s Day games post that would work great for this game! For Older Kids/Adults: Spin them around five times before letting them walk toward the pot of gold.
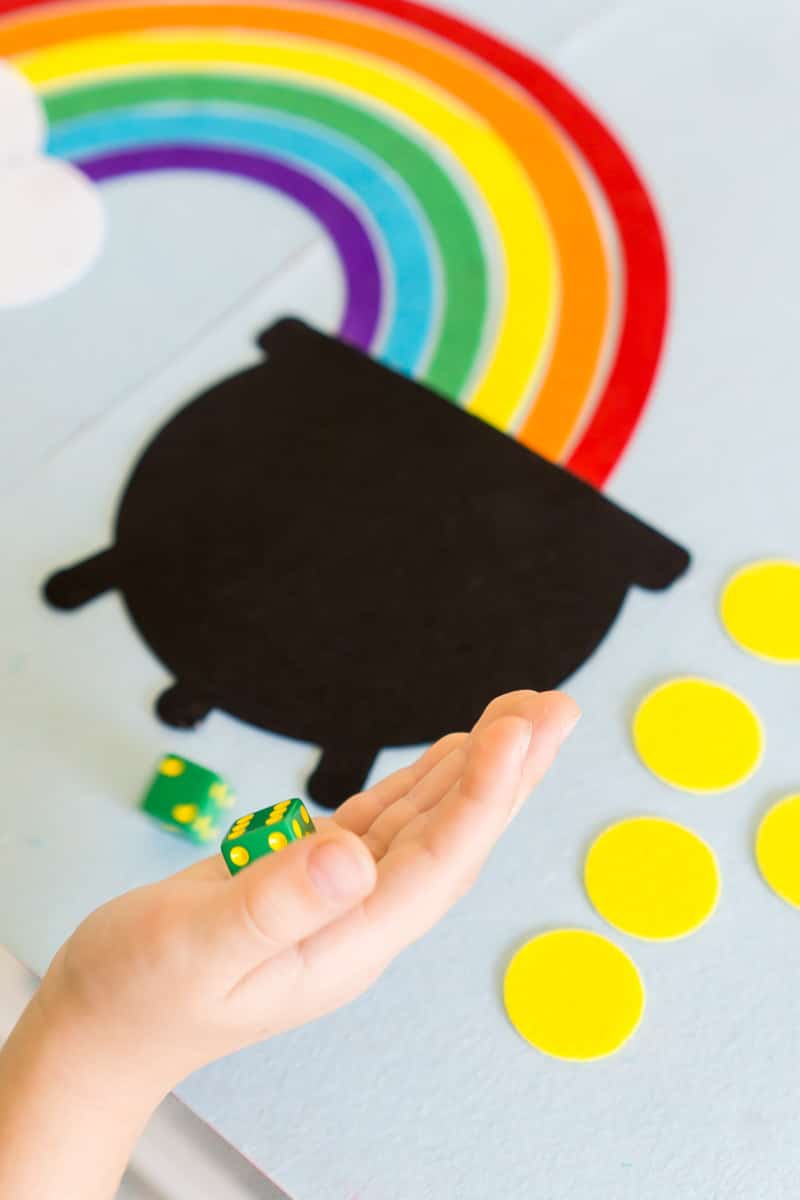
Lucky Dice Game
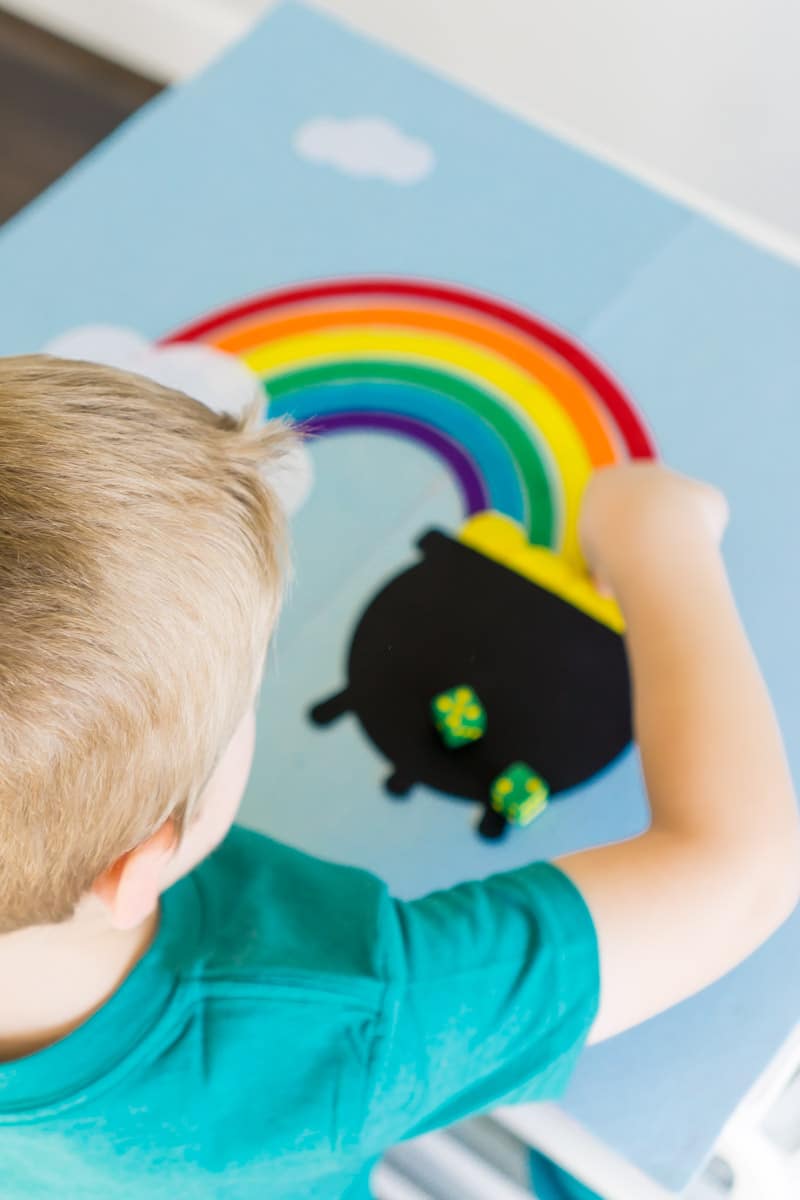
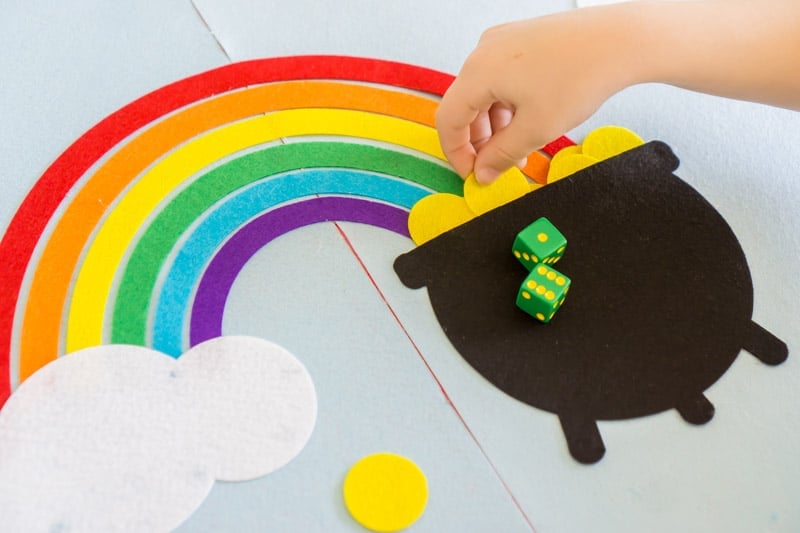
Place the St. Patrick’s Day game board on a table and give the player twelve gold coins and two dice. To play, have them roll the two dice and then count out the number on the dice and put the corresponding number of gold coins into the pot. Continue rolling and filling up the pot with dice until they’ve added all twelve gold coins. If this will go too fast, try giving kids just one die instead of two. Older Kids/Adult Variation Make it even more fun by requiring that they have to fill the pot of gold with their twelve coins exactly – no going over. So if they already have seven coins in the pot and roll a six (which would be 13 coins total), they have to remove the gold coins from the pot and start again. Keep going until they can get the twelve coins in the pot exactly. Time them to see who can do it the fastest OR add it to these St. Patrick’s Day minute to win it games and see who can get the coins in exactly under a minute.
More St. Patrick’s Day Fun
Need more fun ideas for a St. Patrick’s Day party? Any of these ideas will have your guests feeling lucky in no time!
St. Patrick’s Day leprechaun huntRainbow donutsHilarious St. Patrick’s Day gamesFree Printable “Pin-ch Protector” TagsSt. Patrick’s Day scavenger huntFree St. Patrick’s Day party printables
Don’t forget to pin these DIY St. Patrick’s Day pot of gold games!
